Setup Custom Personalization Destination
Using a Custom Personalization Destination is a way to make audiences available on the Edge for use by a third party, usually using the Network Server API, to use for Personalizing.
This lab configures the Custom Personalization Destination so that we can send Profile Attributes to the Edge.
Create Destination
For personalizing using Adobe Target, we would use the Adobe Target Destination. The behavior is identical to Custom Personalization.
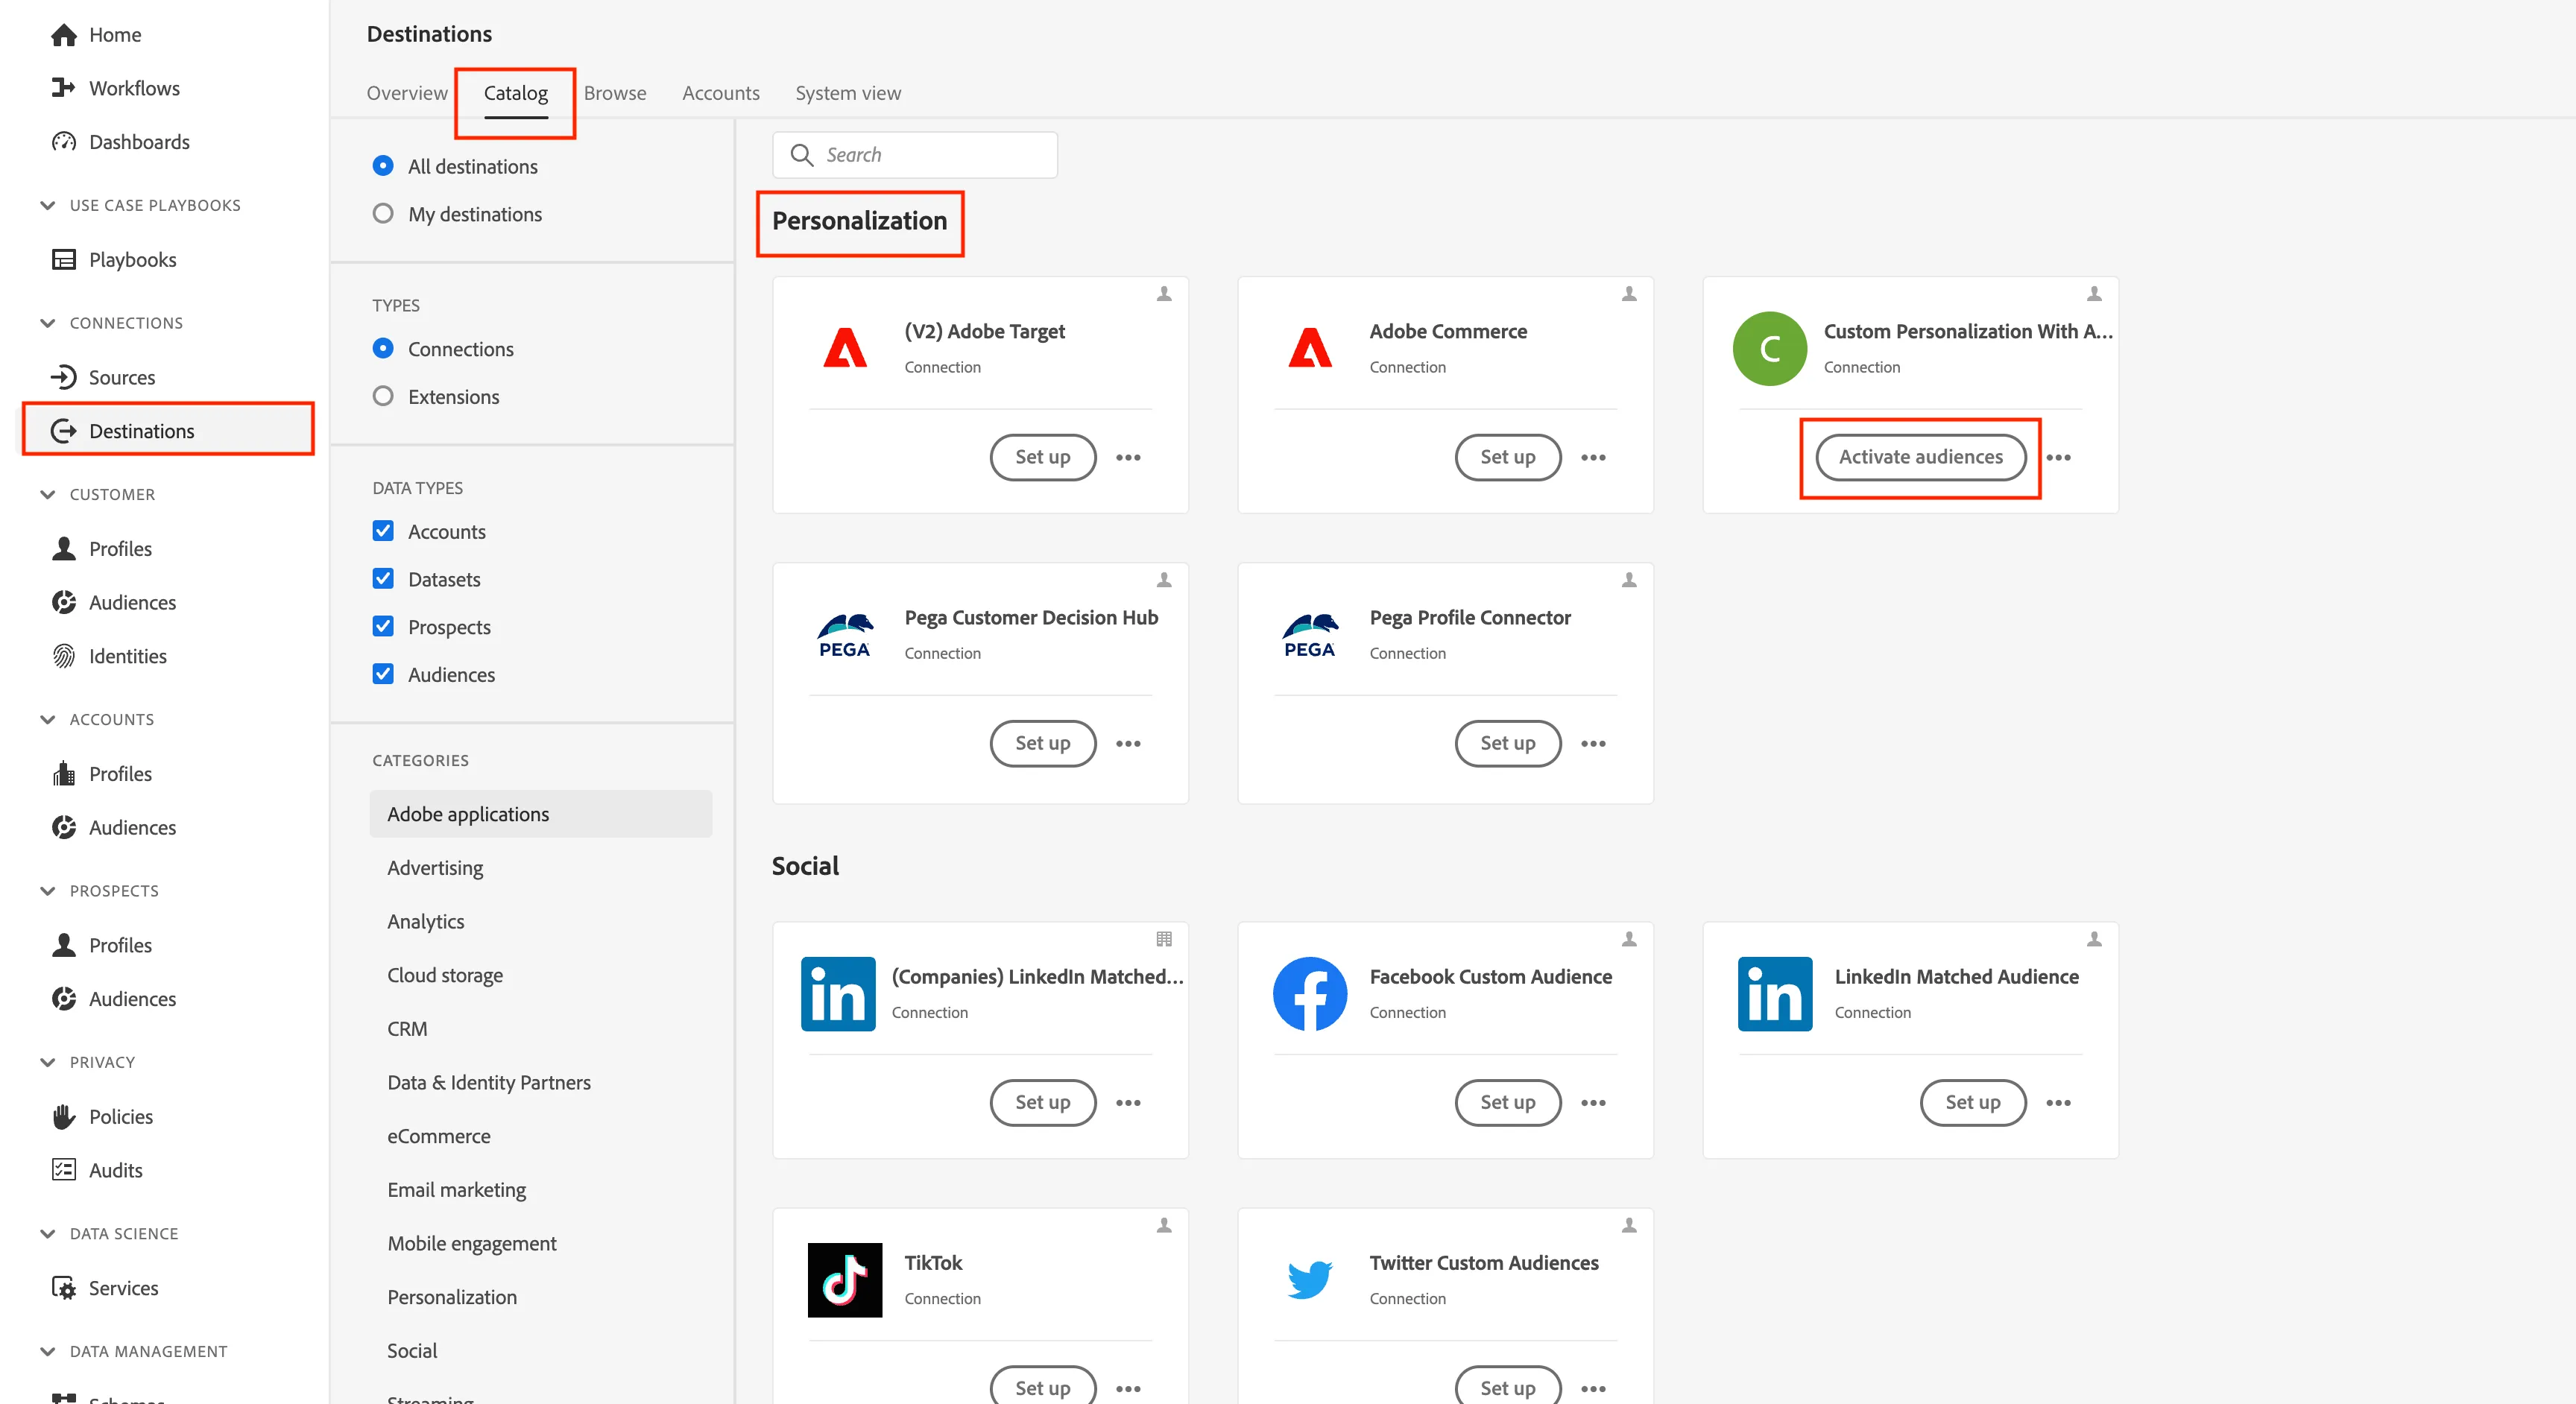
- Go to Destinations -> Catalog -> Personalization -> Custom Personalization with Attributes
- Click on the setup button (you may see Activate audiences instead)
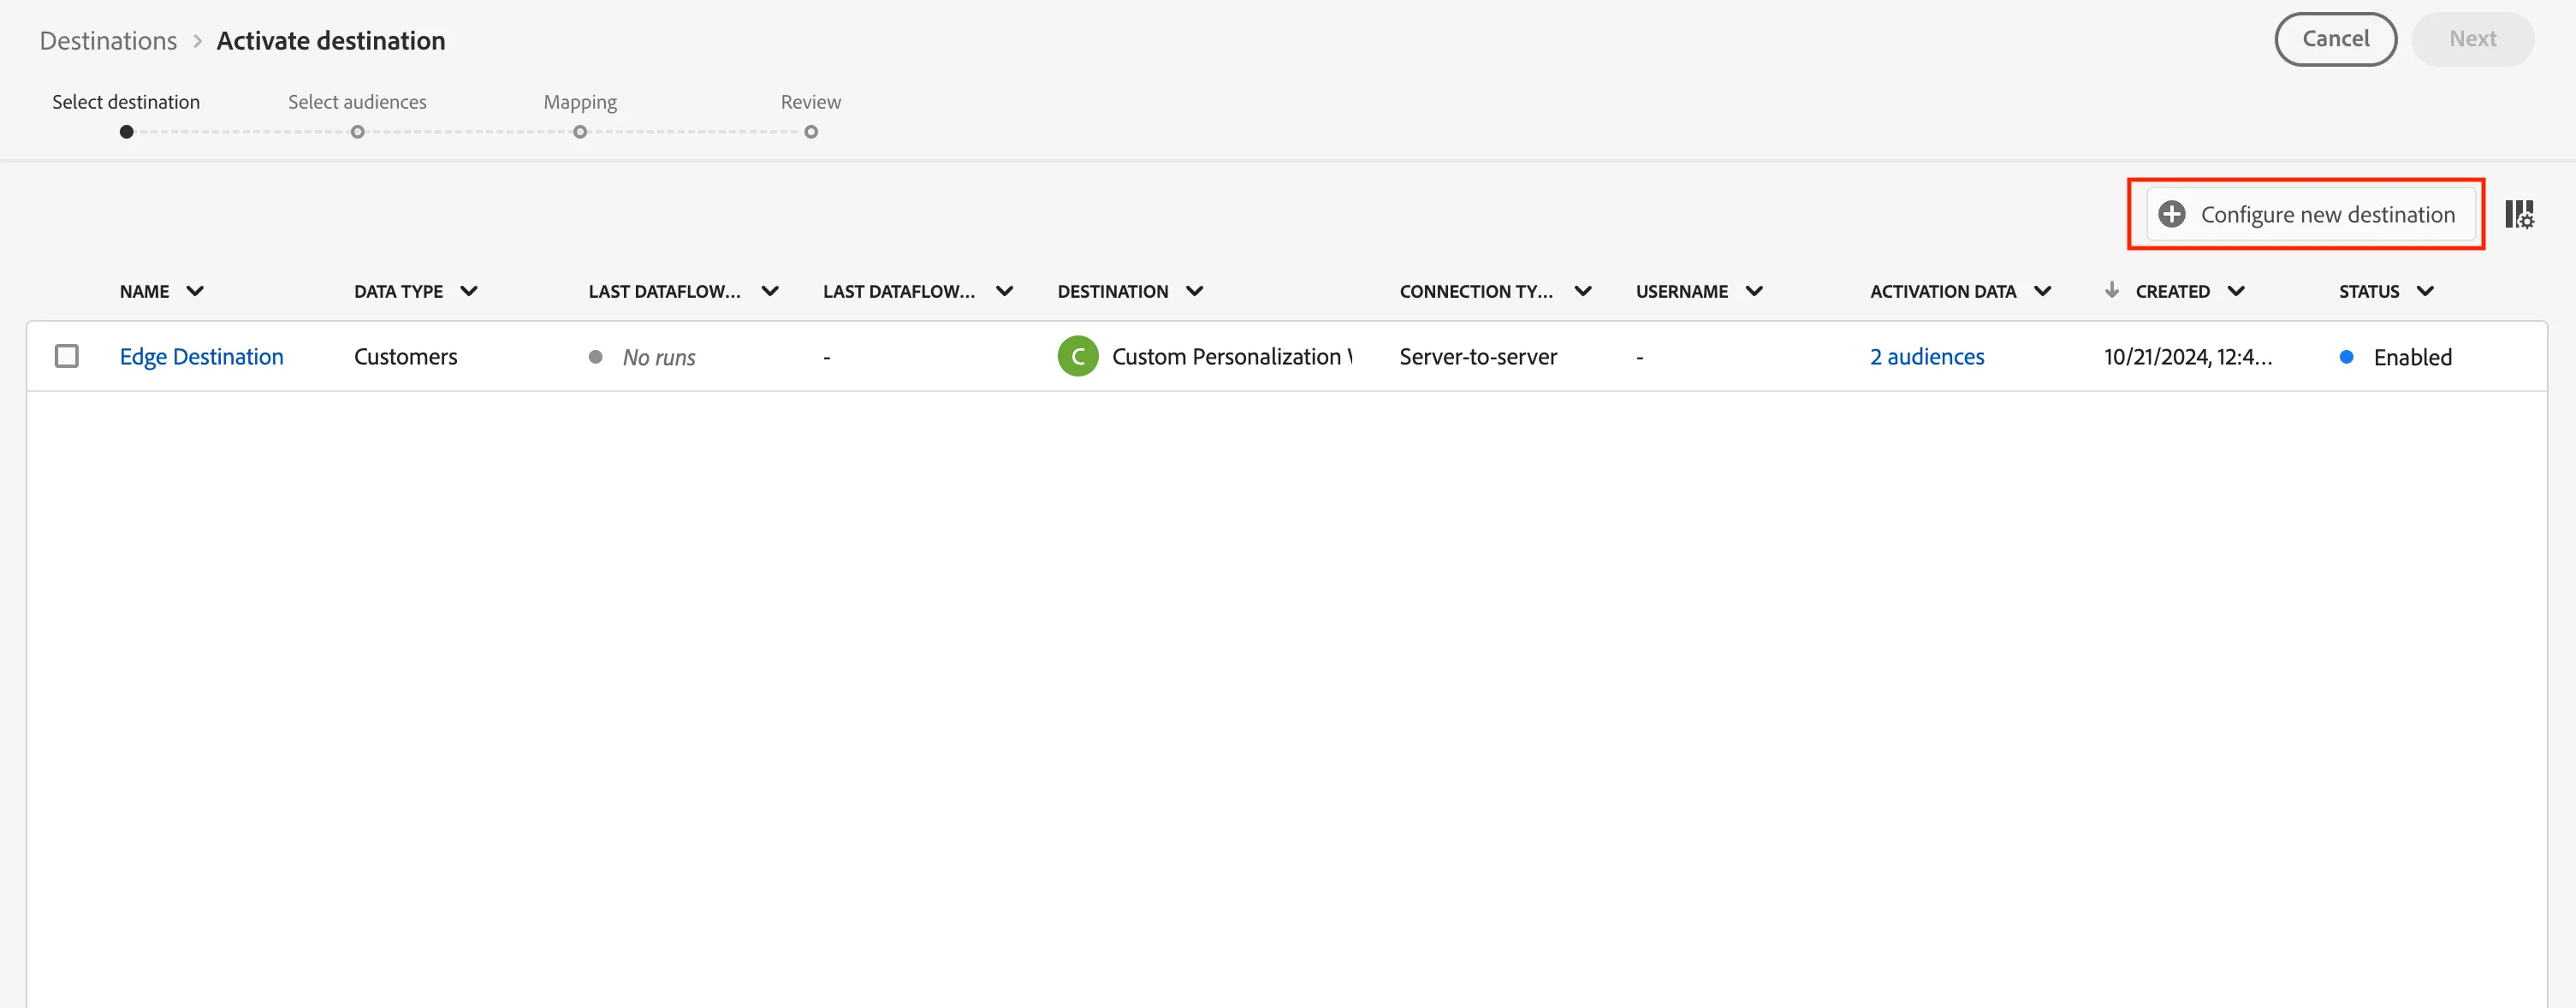
3. Click Configure new destination
Configure Destination
Fill in the following Destination details:
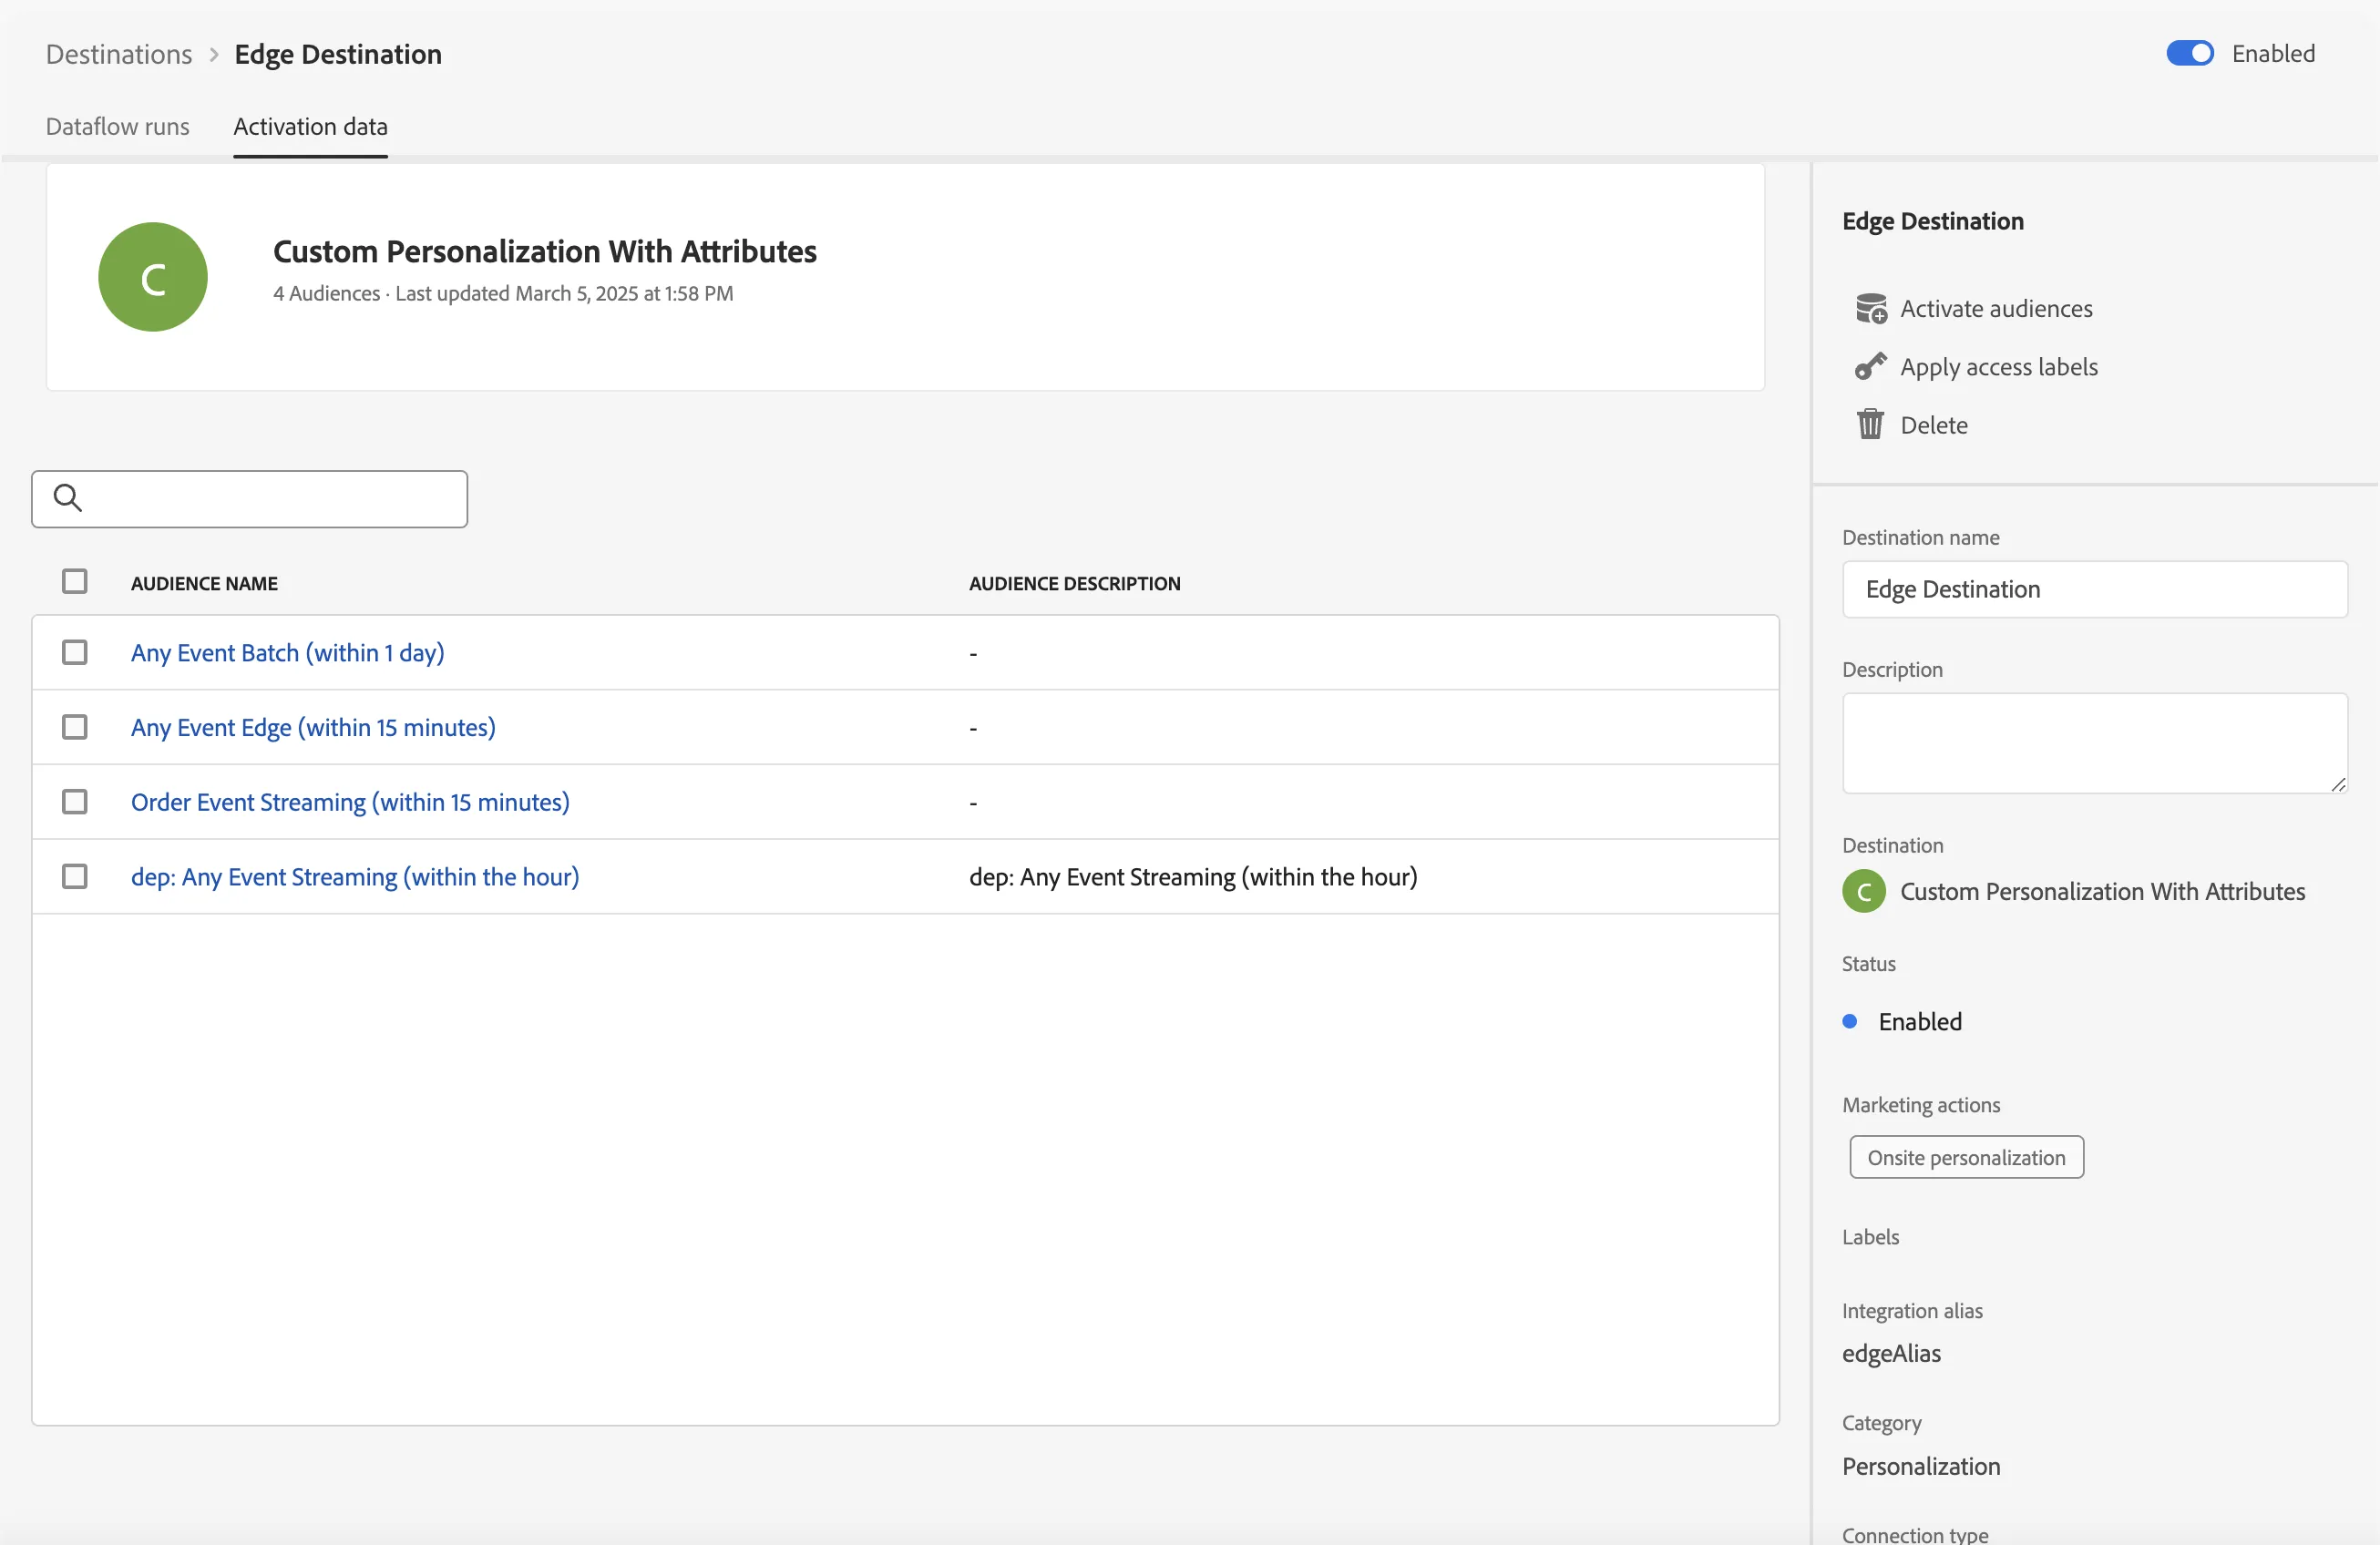
- Name -> Edge Destination
- Integration Alias -> edgeAlias
- Datastream ID -> select the Datastream name you just created
- When done click Next
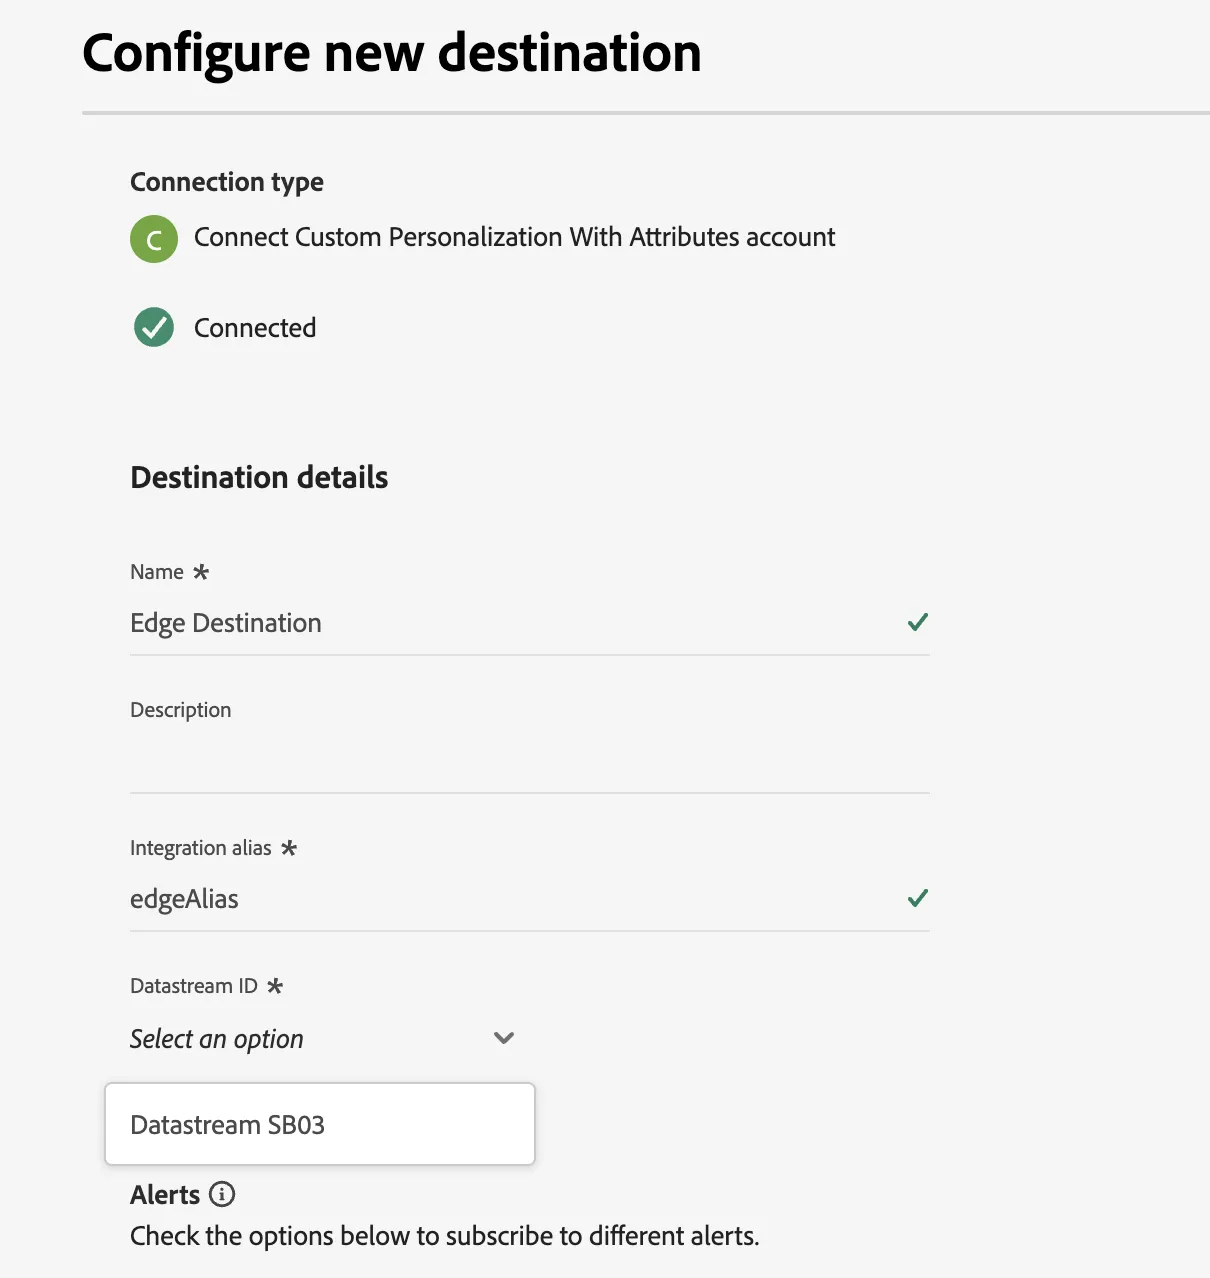
Once you click Next you cannot change the Name or Integration alias. These things will appear later on in the Edge Network responses
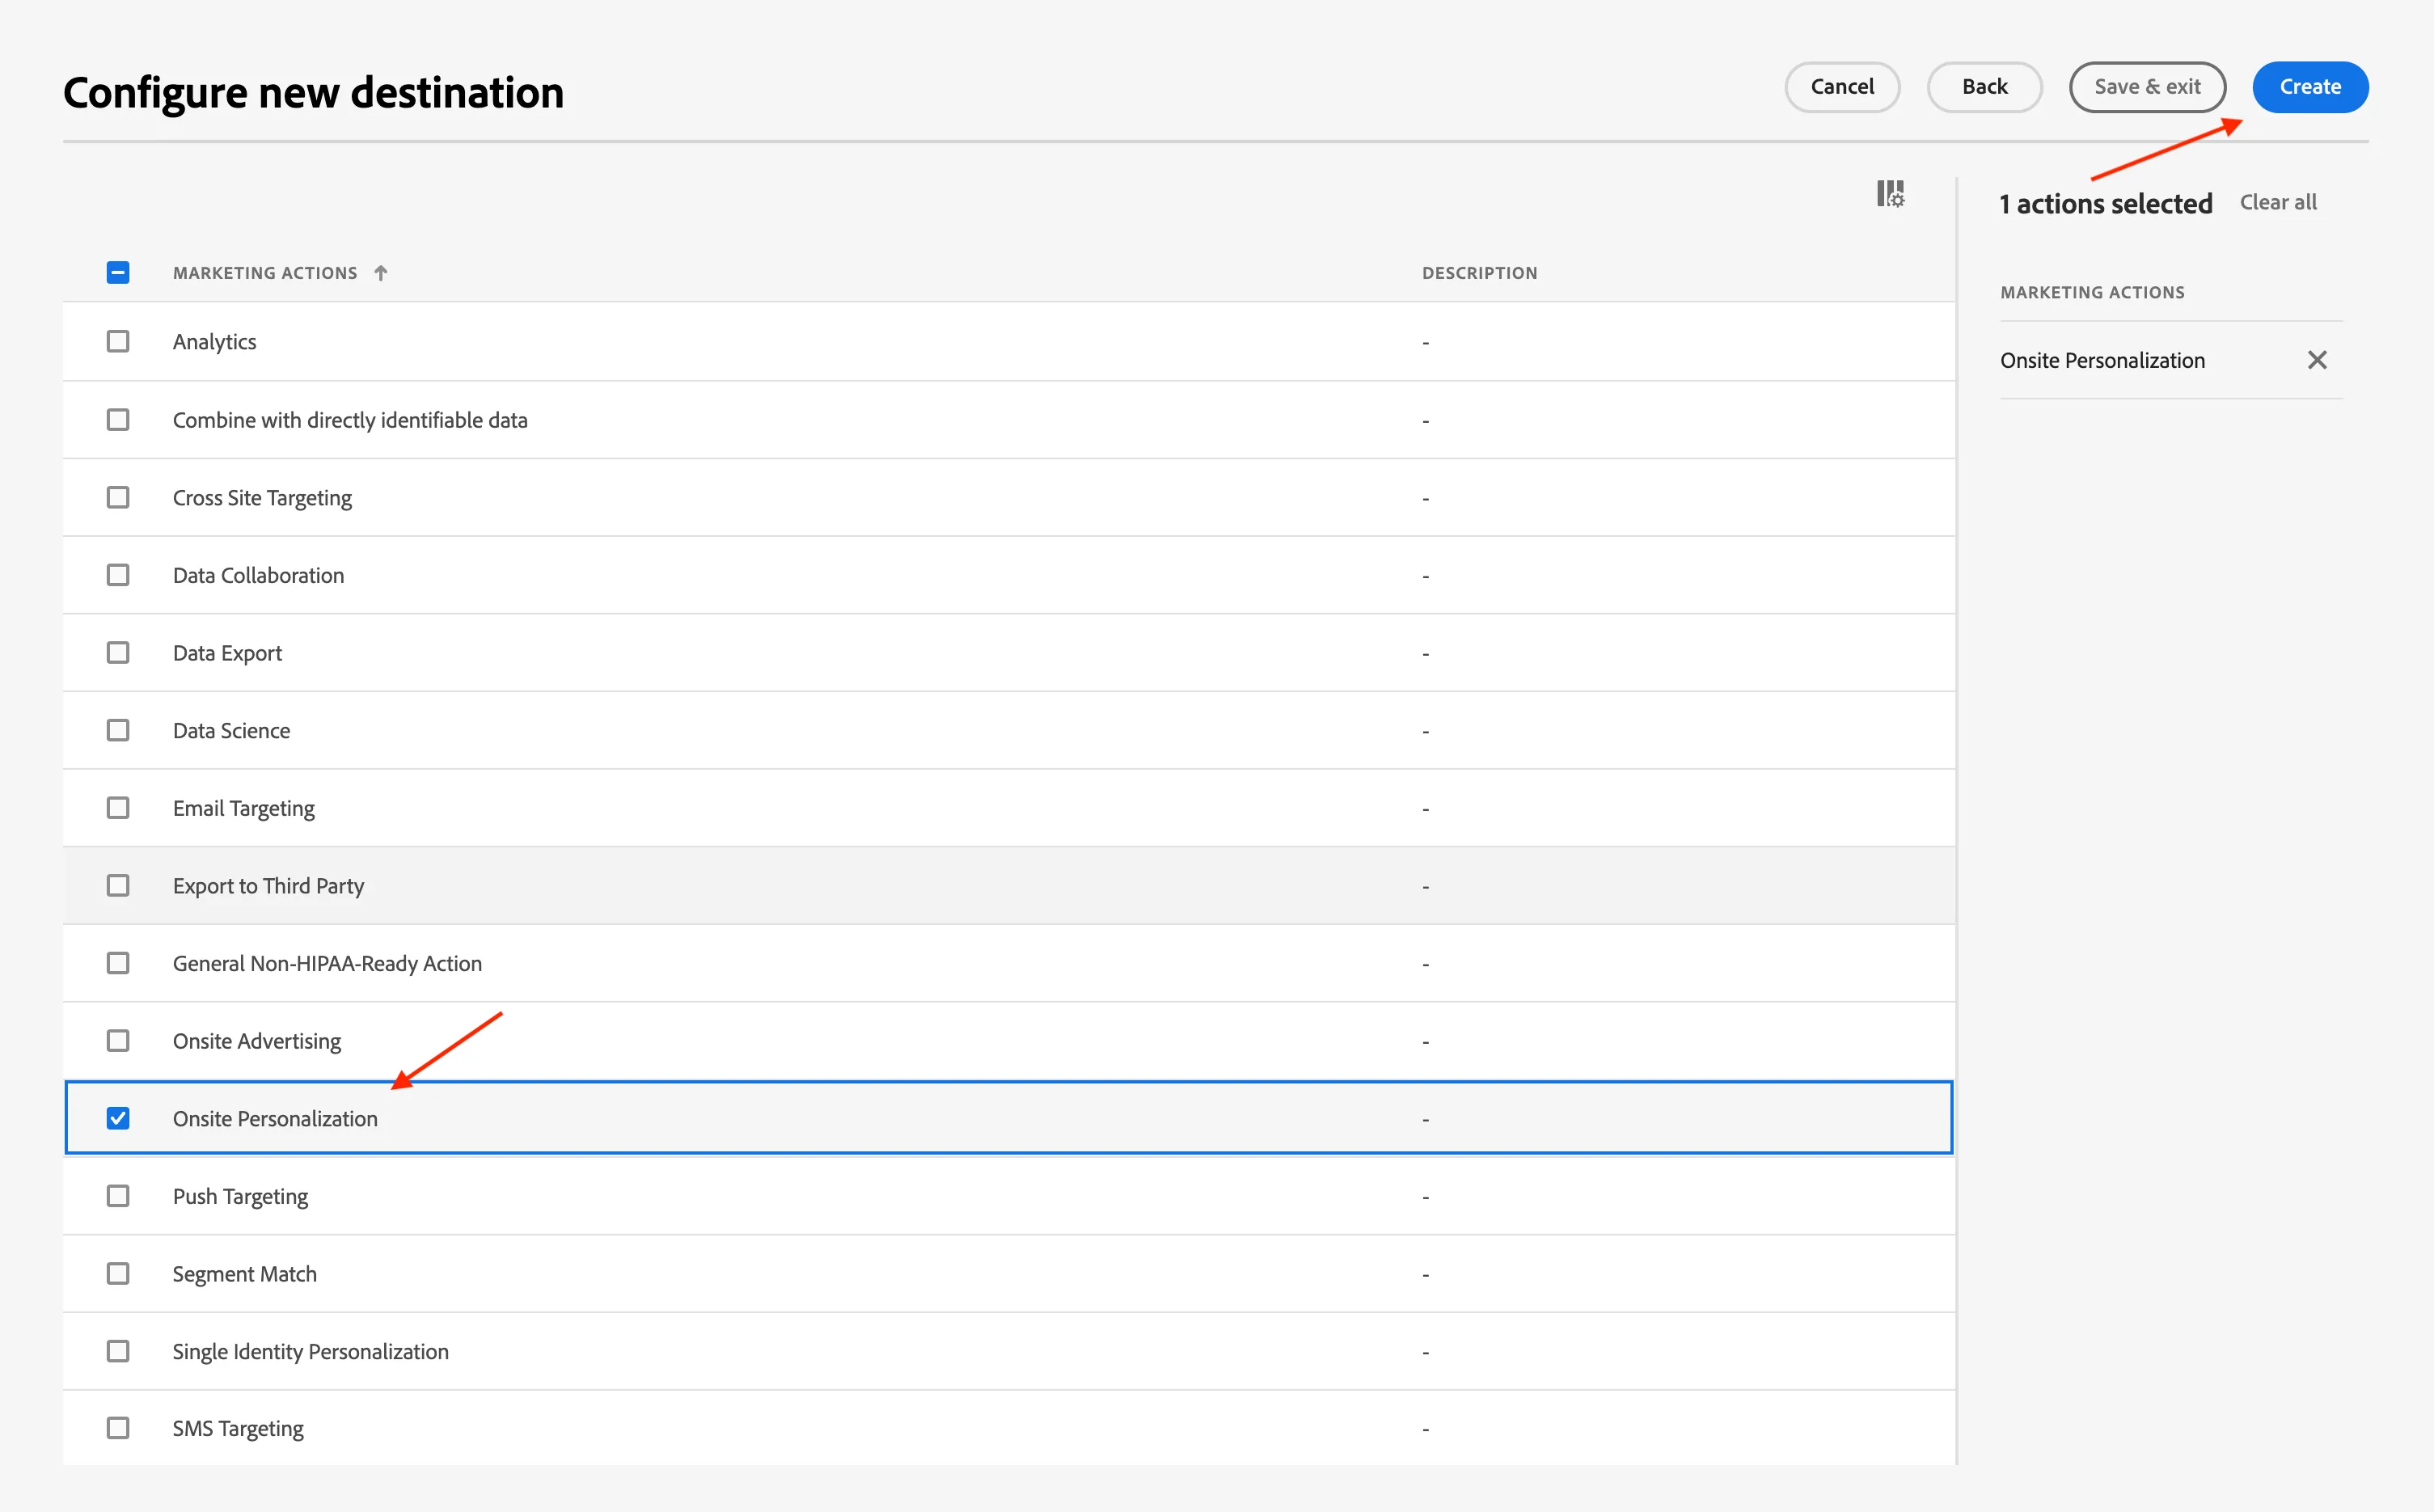
5. Select Onsite Personalization and then click Next (you may see Create instead)
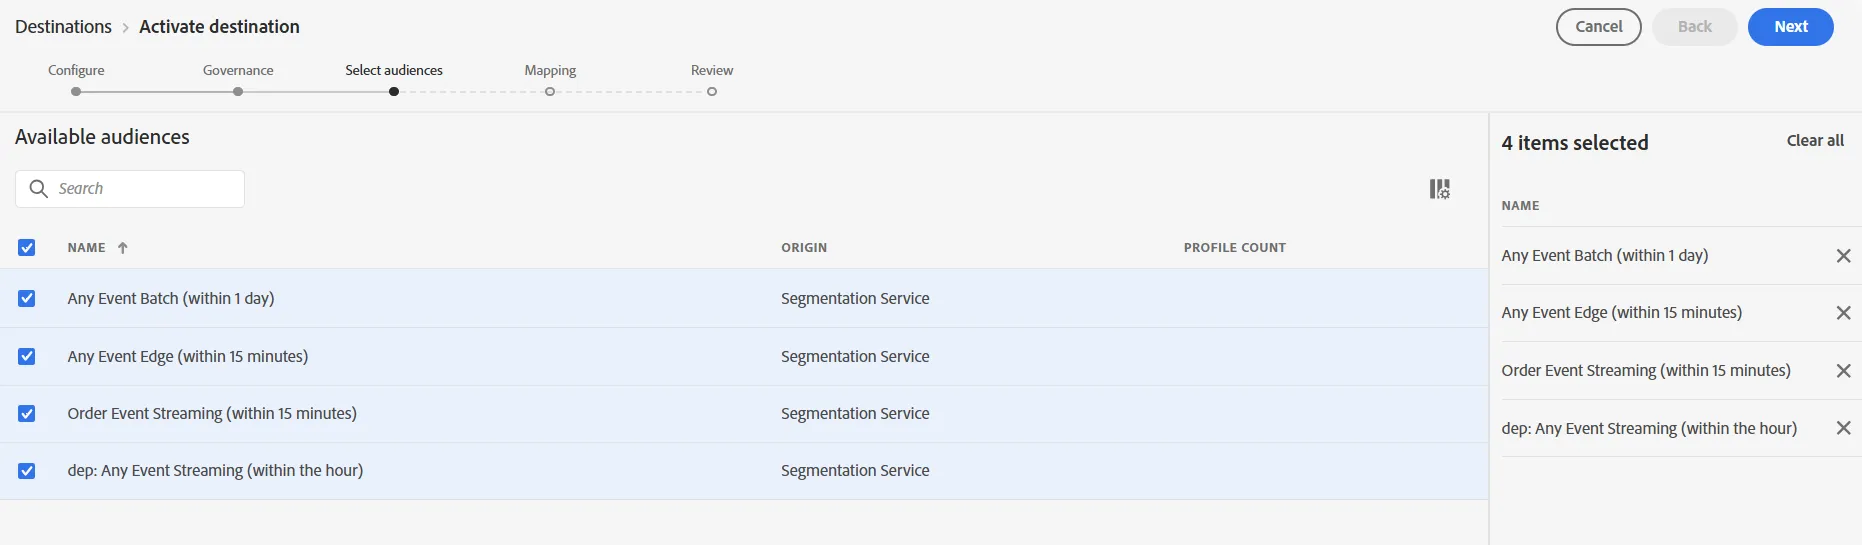
6. Select All Audiences and click Next
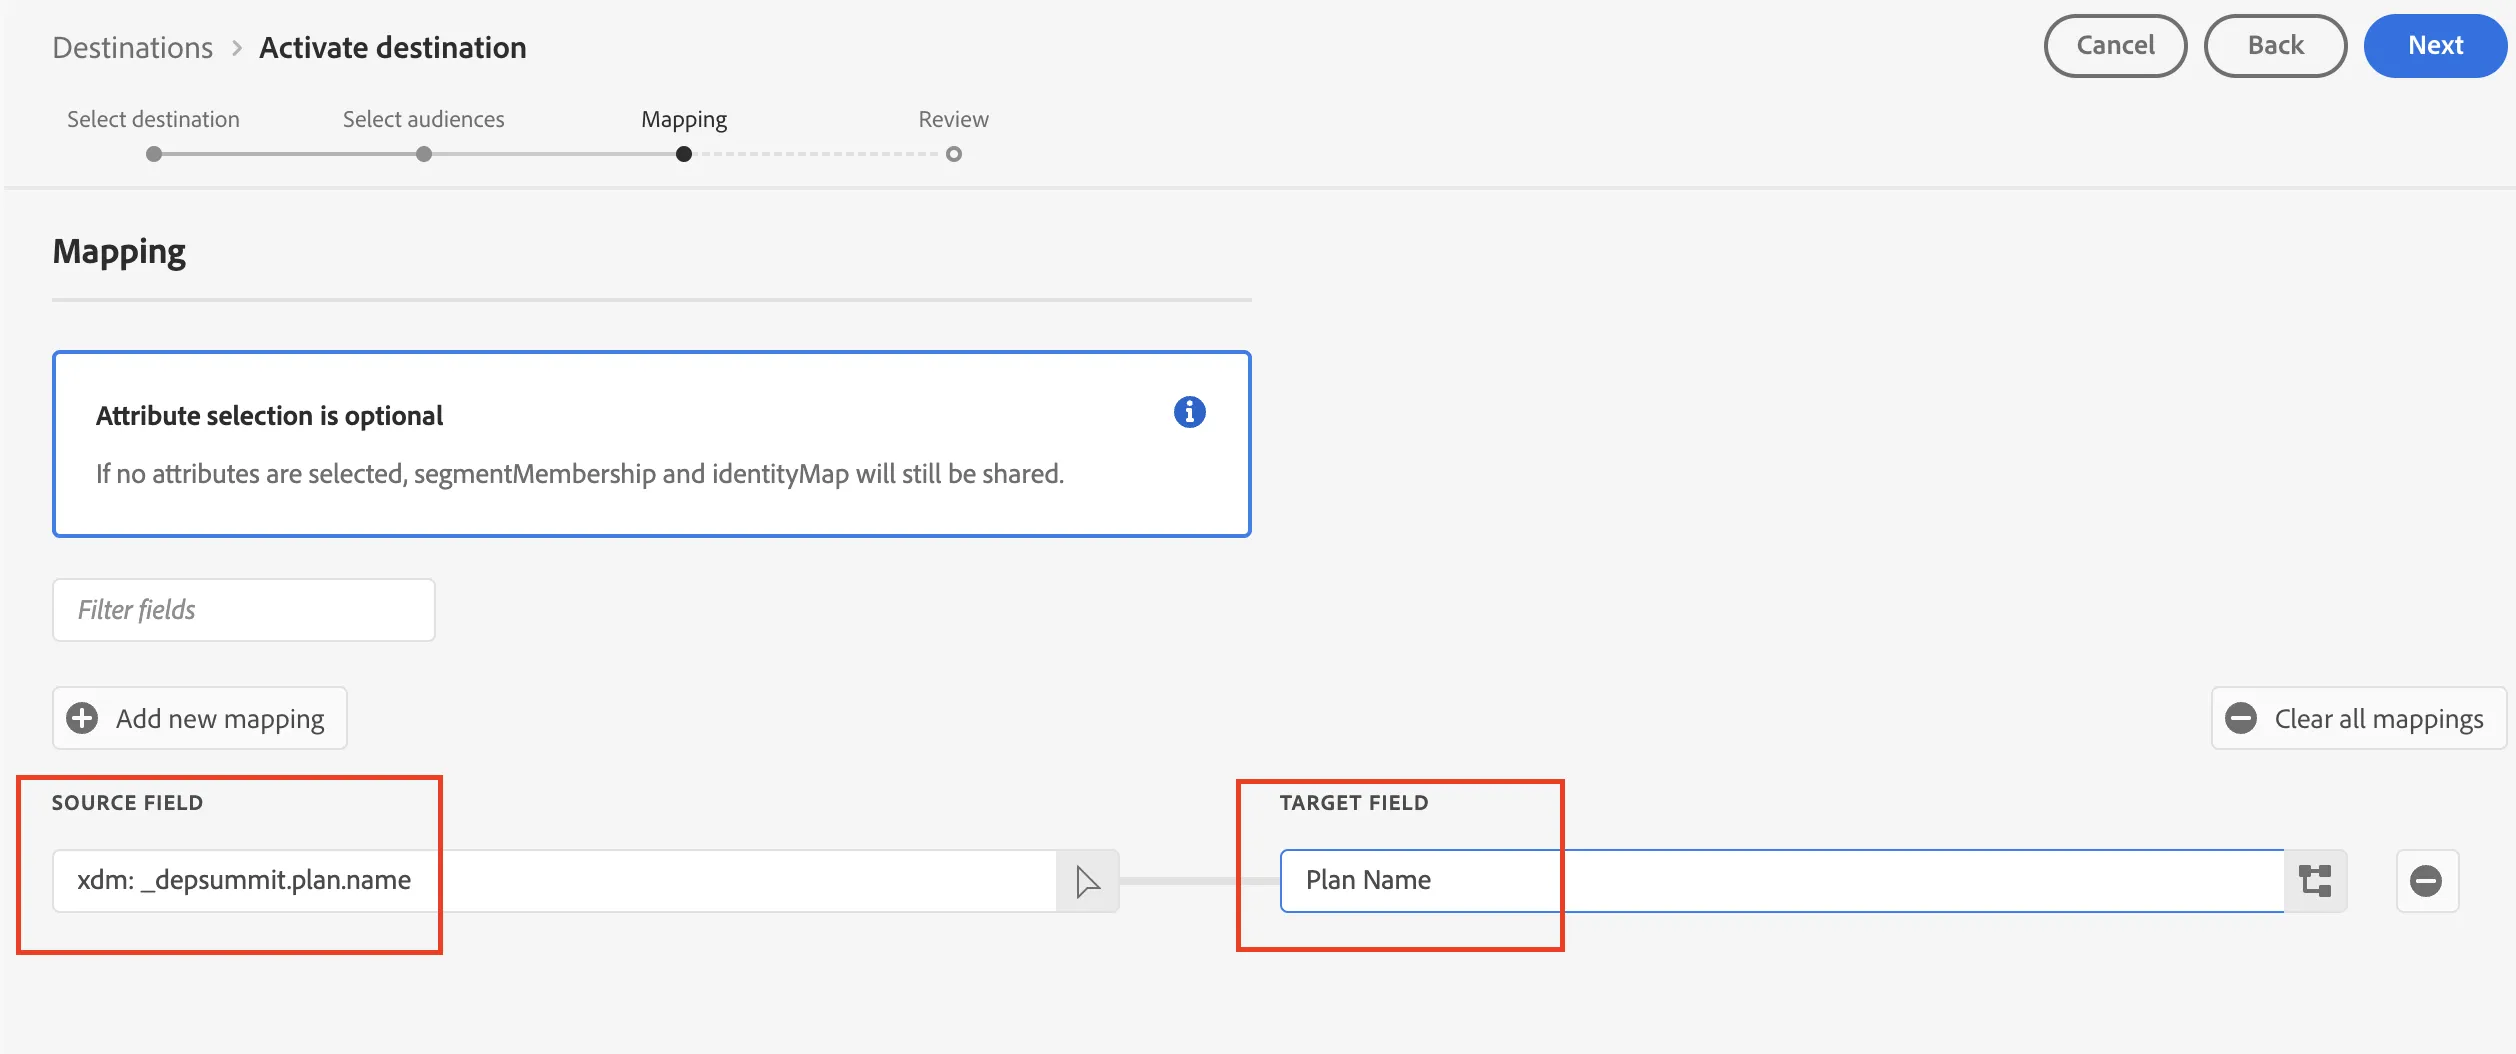
7. Add a new mapping as follows:
- Source -> _depsummit.plan.name
- Target -> Plan Name
Make sure you remove any trailing spaces after _depsummit.plan.name if you are doing a copy/paste.
Then click Next
The Target Field allows for providing a friendly name that may be different than the XDM name
Since Profile attributes may contain sensitive data, all Edge Network Server API calls must be made in an authenticated context in order to retrieve the attribute once it is on the Edge.
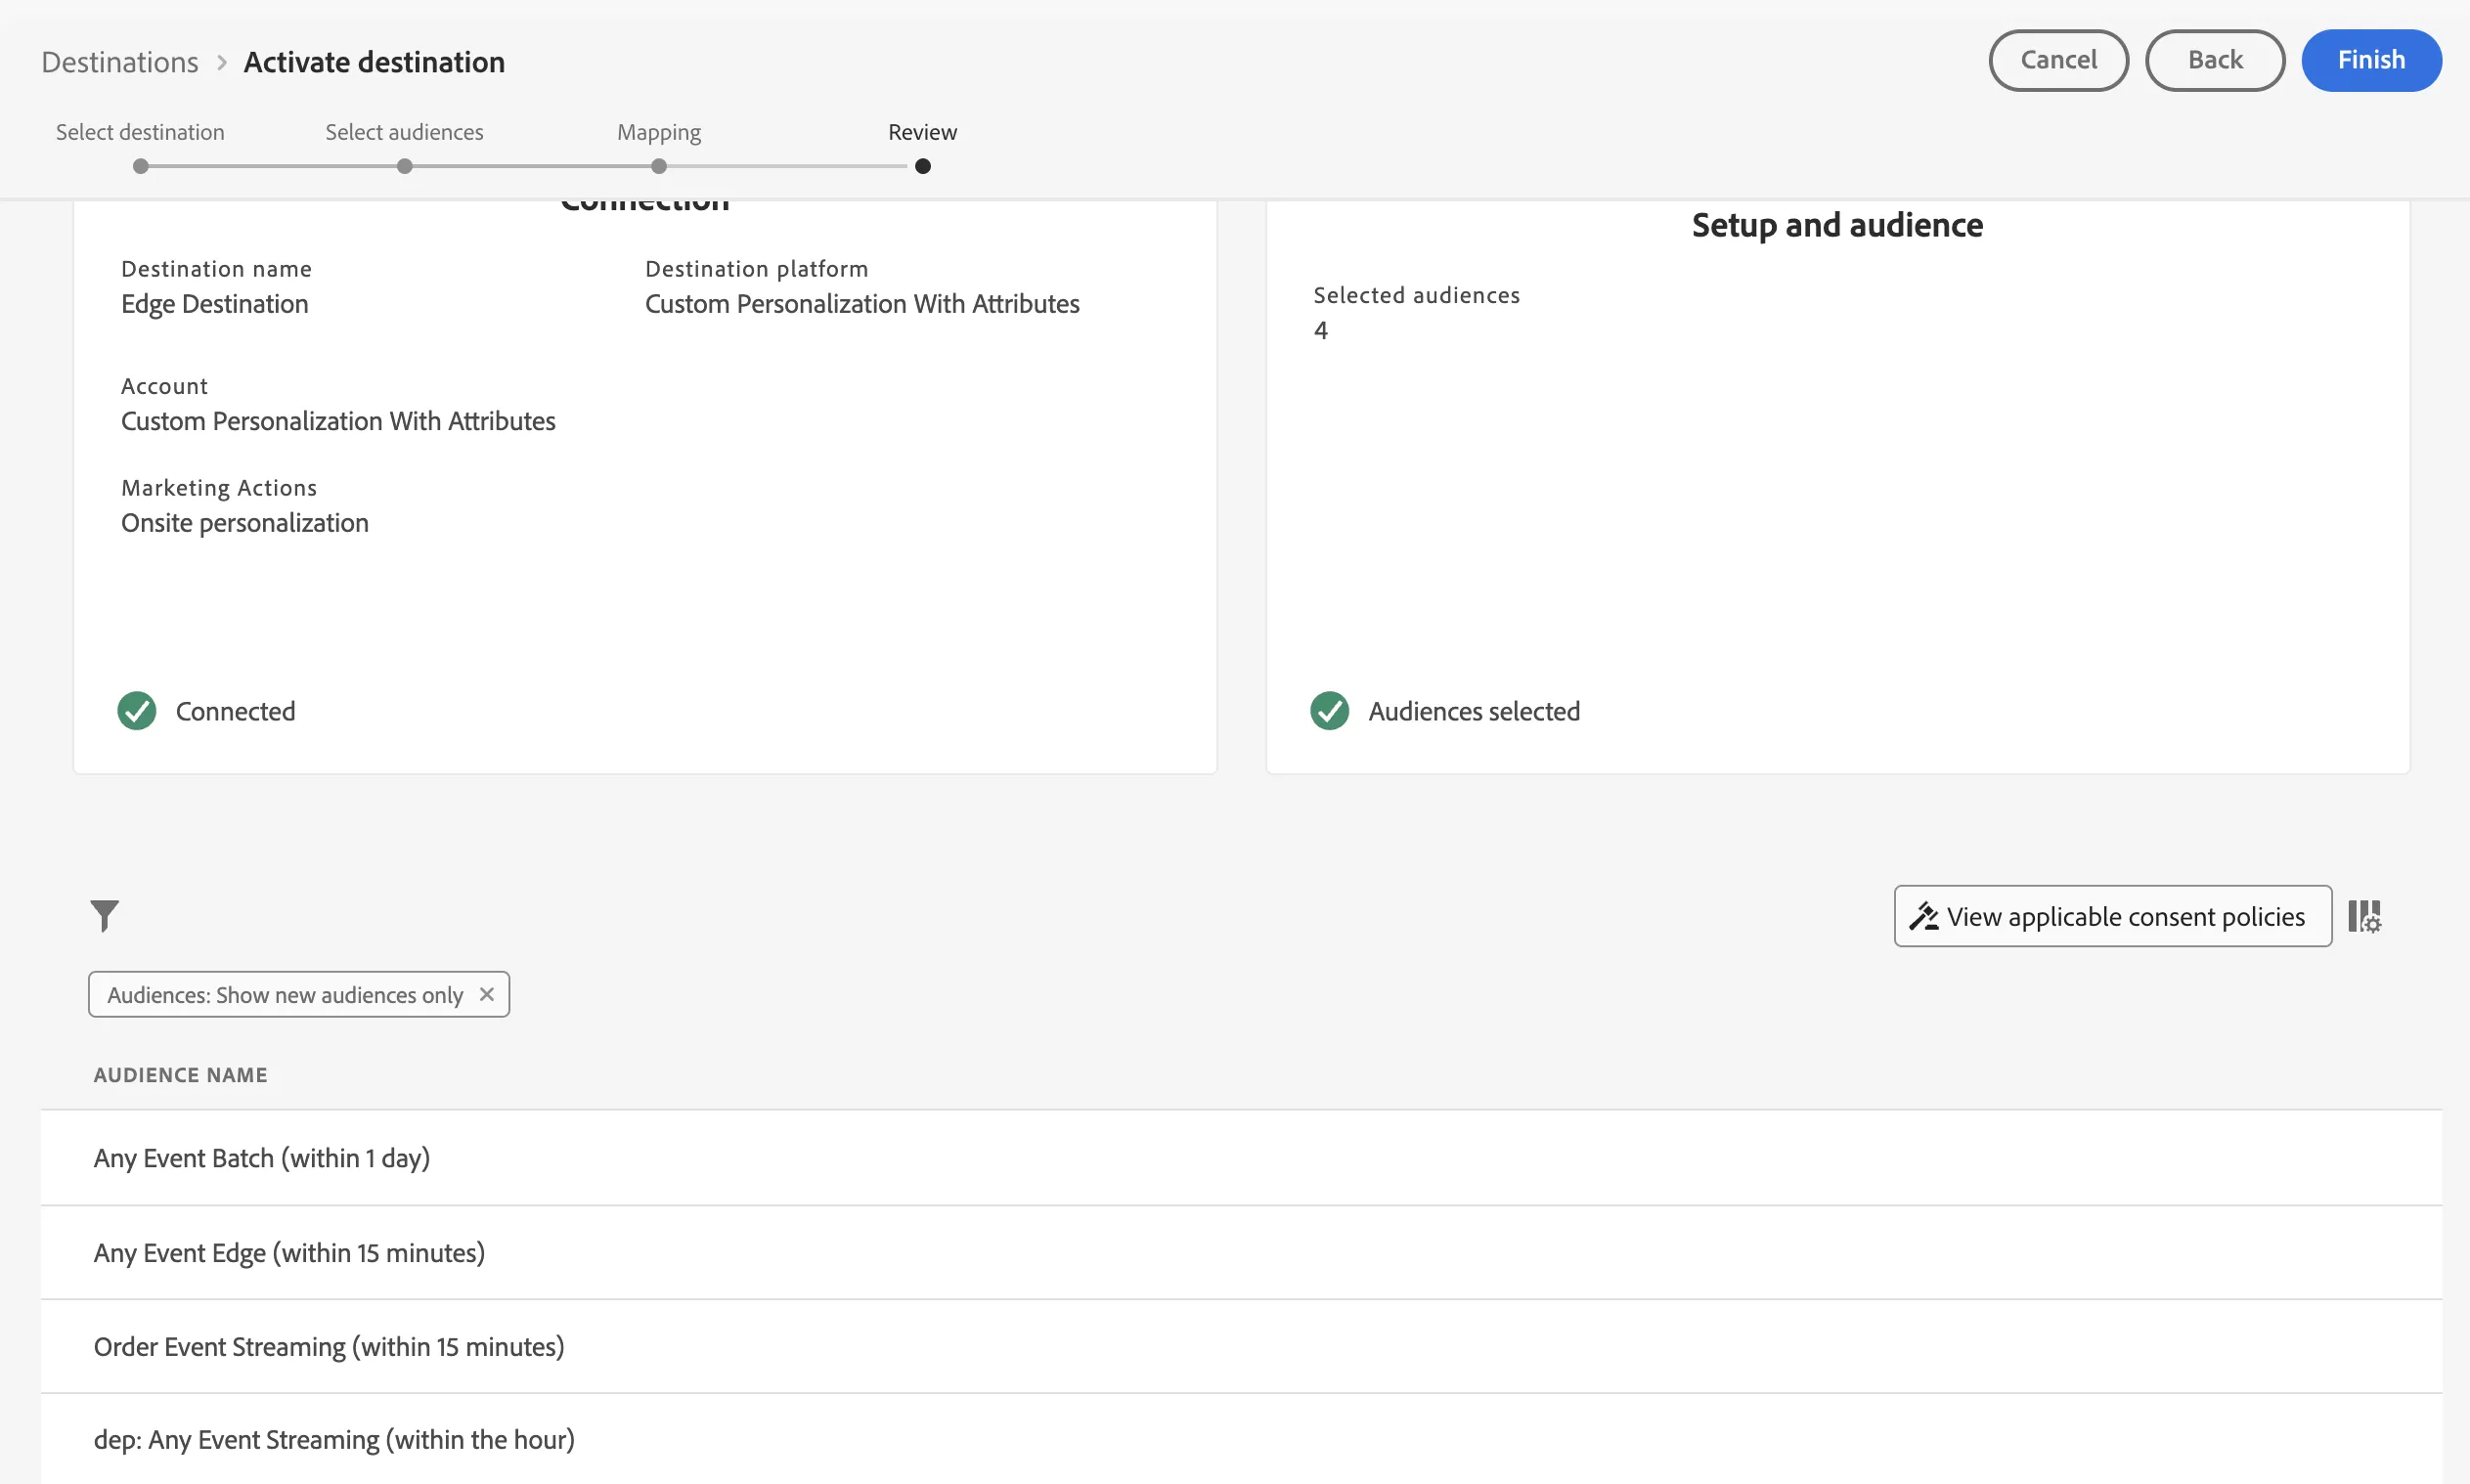
9. On the final screen click Finish
This is the point where Automatic Enforcement will check against your Data Usage Policies It will check your Marketing Actions with the Rules you created and raise any errors.